
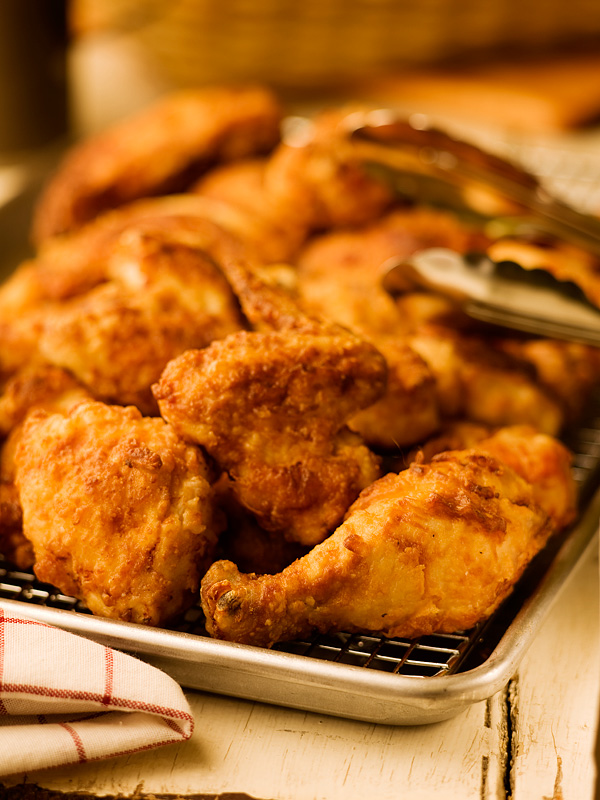
Fried chicken is one of the all-time great comfort foods! For old-school flavour, try using tangy buttermilk and fry in a cast iron skillet. Nothing does a better job maintaining an even heat for crisping the chicken.
Yield: serves 4
Ingredients
1 whole chicken
1 or 2 sprinkles sea salt and freshly ground pepper
2 cups butter milk
2 cups all-purpose flour
2 teaspoons salt
1 teaspoon ground black pepper
2 cups vegetable shortening
Procedure
Cut chicken into 10 pieces (2 thighs, 2 drums, 2 wings and 4 breast pieces).
Put pieces into a large bowl or a resealable plastic bag and season well with salt and pepper. Pour in the buttermilk. Massage the buttermilk into the chicken pieces and then place in the refrigerator. For the best results, marinate overnight or, at the very least, for several hours.
Fit a paper lunch bag into a second one, forming a double layer of paper. Pour in the flour and salt and pepper. Shake well to combine the flour and seasoning.
Drain the chicken pieces well after marinating and then add them to the bag of flour, a few at a time. Shake well to coat the pieces, remove and rest them on a rack. Repeat until all the pieces are coated well with the seasoned flour. For best results, let the coated chicken dry at room temperature for 15 or 20 minutes or so to help it get crispy during frying.
Melt the shortening in a large, cast iron skillet. This type of traditional pan does the best job because it evenly heats the fat so the chicken won’t burn or cook unevenly. There should be enough melted shortening to cover the pan with about a 1/2 inch (1 cm). Continue heating until the corner of a piece of chicken dipped into the fat causes lots of vigorous bubbling.
Add the chicken pieces in a single layer and fry them on one side until golden and crispy, about 10 minutes. If you have a lid for the pan, use it while the first side cooks but remove it once you flip the pieces so they don’t get soggy.
Using tongs, turn the chicken and cook on the other side until golden and cooked through, approximately 20 minutes for both sides. Drain well on paper towels.
Variation
Some cooks like to season their flour with a secret blend of herbs and spices, so feel free to experiment with your own blend. Try onion powder, garlic powder, dried sage or thyme, or even red chili pepper flakes, paprika or chili powder.
Recipe by